BNI Video Filming Best Practices Guide
Why High-Quality Videos Matter:
Videos are a powerful tool for storytelling, driving engagement, and building credibility. High-quality videos not only capture attention but also reinforce BNI’s brand value, fostering stronger connections within our global network. Whether professionally filmed or captured on a smartphone, well-produced videos elevate BNI’s presence on social media, inspiring action and engagement among members.

Platform Specific Video Optimization
LinkedIn Video Best Practices
(B2B & Professional Audience)
Beginner / Amateur:
- Landscape (16:9): 1920×1080 pixels (best for desktop viewers)
- Square (1:1): 1080×1080 pixels (great for mobile and desktop)
- Vertical (4:5): 1080×1350 pixels (recommended for ads and mobile)
- Vertical (9:16): 1080×1920 pixels (for mobile-only, Stories-style content)
- Max Length: 15 minutes (10 minutes from mobile)
- File Size Limit: Up to 5GB
- Formats: MP4 recommended

Pro Tip: Keep important text and visuals centered to avoid cropping across devices. Vertical and square videos grab more screen space on mobile and tend to generate more engagement.
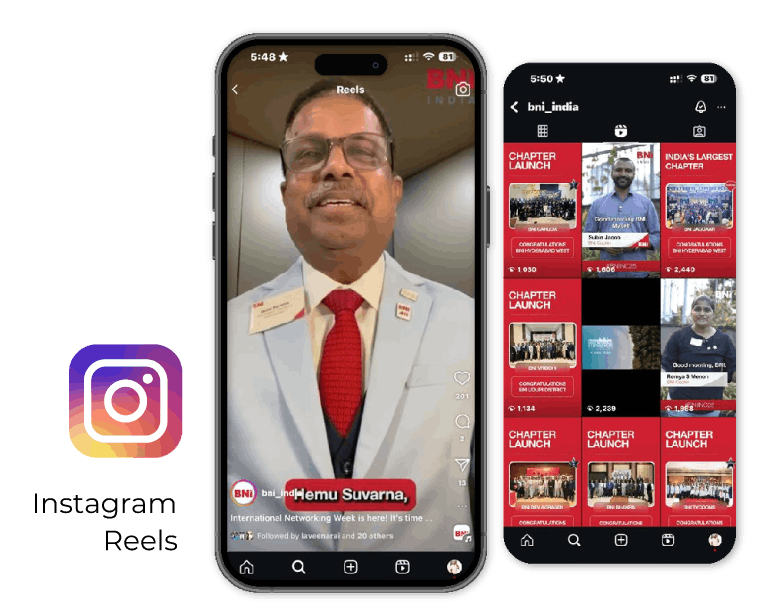
Instagram Reels
(Short, Engaging Content)
- 1. Ideal Length: 15 seconds – 1 minute for feed; up to 15 minutes for IGTV/Instagram Video
- 2. Best for: Bite-sized updates, behind-the-scenes, stories, reels, and testimonials.
Tip: Use vertical or square format for better mobile experience; add captions as videos often autoplay muted
Dimensions:
- Feed video (square): 1080×1080 pixels (1:1)
- Feed video (landscape): 1920×1080 pixels (16:9)
- Stories/Reels/IGTV (vertical): 1080×1920 pixels (9:16)

YouTube
(Long-Form & Educational Content)
- 1. Ideal Length: 2 – 15 minutes for regular content; shorter for shorts (up to 60 seconds)
- 2. Best for: In-depth tutorials, interviews, webinars, testimonials
Tip: Add captions/subtitles; custom thumbnails help attract clicks
Dimensions:
- Standard video (landscape): 1920×1080 pixels (16:9)
- Shorts (vertical): 1080×1920 pixels (9:16)

(Engagement & Community Building)
- 1. Ideal Length: 30 seconds – 3 minutes for regular videos; longer for live and branded content
- 2. Best for: Event highlights, educational content, ads, and community updates
Tip: Use captions and engaging thumbnails; square videos perform well on mobile
Dimensions:
- Feed video (square): 1080×1080 pixels (1:1)
- Feed video (landscape): 1280×720 pixels (16:9)
- Stories (vertical): 1080×1920 pixels (9:16)

- 1. Ideal Length: 30 seconds – 2 minutes
- 2. Best for: Thought leadership, quick business insights, and testimonials.
- 3. Tip: Add captions as many users watch on mute during work hours
Instagram Reels
(Short, Engaging Content)
- 1. Ideal Length: 15 seconds – 1 minute for feed; up to 15 minutes for IGTV/Instagram Video
- 2. Best for: Bite-sized updates, behind-the-scenes, stories, reels, and testimonials.
Tip: Use vertical or square format for better mobile experience; add captions as videos often autoplay muted
Dimensions:
- Feed video (square): 1080×1080 pixels (1:1)
- Feed video (landscape): 1920×1080 pixels (16:9)
- Stories/Reels/IGTV (vertical): 1080×1920 pixels (9:16)
Instagram Reels
- 1. Ideal Length: 15 – 60 seconds
- 2. Best for: Quick tips, trends, behind-the-scenes, and storytelling.
- 3. Tip: Use trending audio and dynamic edits to increase discoverability.
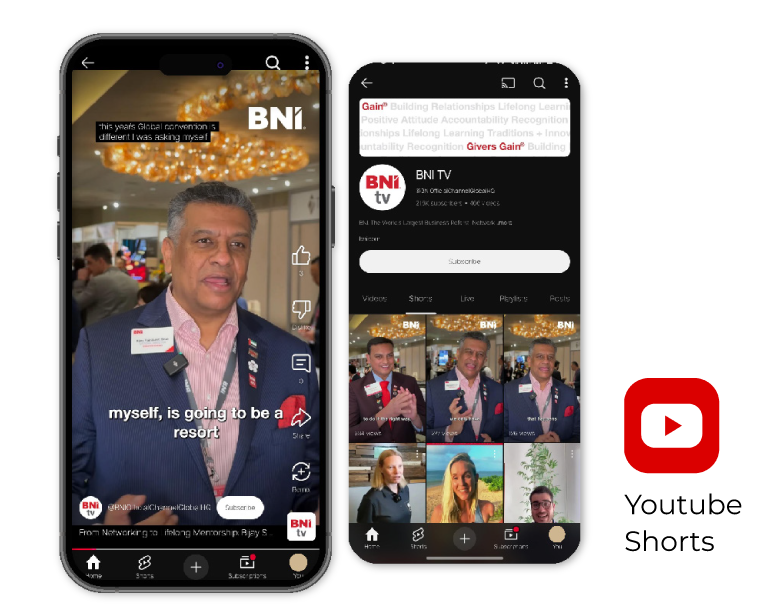
YouTube
- 1. Ideal Length: 2 – 10 minutes (Shorts: 15–60 seconds)
- 2. Best for: Tutorials, deep dives, vlogs, and interviews.
- 3. Tip: Hook viewers in the first 5 seconds to reduce drop-off rates.
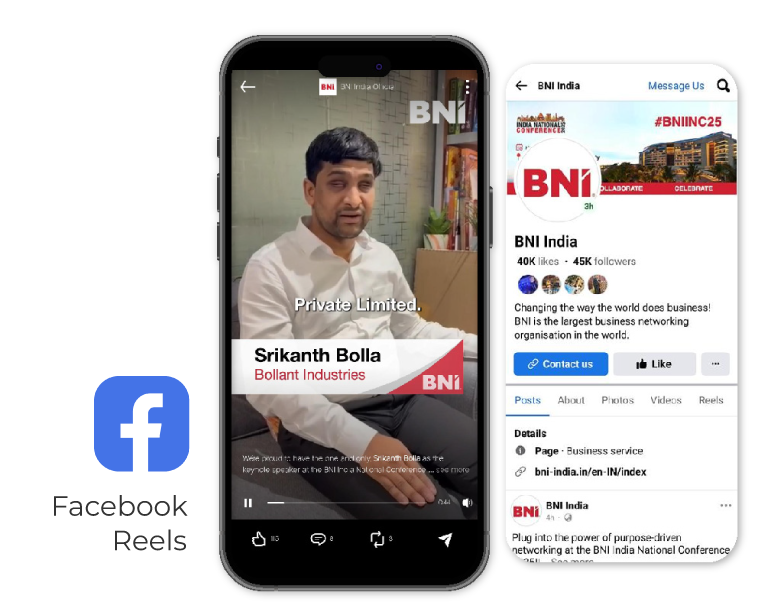
- 1. Ideal Length: 1 – 3 minutes
- 2. Best for: Engaging storytelling, interviews, and success stories.
- 3. Tip: Upload directly to Facebook for better reach (instead of sharing YouTube links). Youtube Shorts Facebook Reels

Structuring Your Video
Video Best Practices
Start strong: Capture attention within the first 5 seconds with a compelling hook. This could be an intriguing question, a bold statement, or a powerful visual that draws viewers in.
Deliver the Core Message: Clearly communicate the key idea or story in the middle section. Keep it concise, engaging, and focused on the audience’s needs and interests.
End with a Clear Call to Action: Guide viewers on what to do next. Whether it’s “Experience the power of referrals—visit a BNI Chapter today” or “Learn how BNI can help your business grow”, make sure the next step is clear and actionable.


Video Best Practices
Storytelling Tips
Make It Real: Use real-life success stories, testimonials, or relatable scenarios to create an emotional connection with your audience.
Keep It Conversational: Adopt a warm, authentic, and approachable tone to ensure the message feels natural and engaging.
Show, Don’t Just Tell: Whenever possible, use visuals, demonstrations, and dynamic footage to reinforce your message rather than relying solely on narration.
Just Getting Started?
Storytelling Tips
Start with a large ring light—look for one with:
Ring Light
- Adjustable color temperature
- Dimmable brightness
- Tripod + phone mount
Add a lavalier mic for clear audio and a basic tripod for stable shots.

Clear audio is just as crucial as video quality. Recommended microphones include:
Boya BY-M1 Wired Lapel Mic –
Affordable and great for interviews or solo recordings.
DJI Mic Mini 2 Compact Wireless Microphone –
Provides wireless convenience with high-quality sound.

For stable and smooth footage, use:
Amazon Basics Adjustable Tripod –
Ensures steady framing for stationary shots.
DJI Osmo Mobile Stabilizer –
Ideal for capturing dynamic and handheld shots smoothly.

Proper lighting enhances video clarity and professionalism. Consider these options:
Large Ring Lights –
Ideal for well-lit indoor recordings (e.g. Neewer 18-inch LED Ring Light).

16 ready-to-use social media posts
in your inbox every month
Customizable posts that you can use as-is, tweak, or translate. Plus templates, tools, and support. All in the Scion Social Media AI Accelerator

Filming Best Practices
Lighting Essentials
Always face the light source to ensure clear and well-lit footage. Avoid having the light behind you.
Utilize natural light whenever possible.
When filming indoors, use a ring light or soft lighting to minimize shadows and create even illumination.
Audio Tips
Record in a quiet environment to avoid background noise distractions.
Use a lapel or wireless microphone for crisp and clear audio quality.


Camera Setup & Orientation
For long-form videos, use horizontal (landscape) mode to enhance viewer experience.
For short-form content, such as reels or stories, use vertical (portrait) mode for optimal mobile viewing.
Position the camera at eye level to maintain a natural and engaging perspective.Angles & Framing
Keep the subject centered or apply the rule of thirds for a well-balanced composition.
Avoid extreme angles—stick to simple, steady framing for a professional look.Avoid Zoom or Teams for video recordings—they’re great for meetings, but not for quality content. The output often looks compressed and lifeless.
Instead, go for:
- HD phone or camera recordings
- Clear audio (external mics work wonders)
- Bright, quiet spaces

Setup And Stability
Use a Tripod:
- Always mount your device on a tripod or stable surface to prevent shaky footage and maintain a professional appearance.
- Use a sturdy tripod to keep your camera steady and eliminate shaky footage.
- Adjust the tripod height so the lens is at eye level for a natural, engaging frame.
- Lock the tripod head securely before recording to maintain consistent framing.
- Keep the camera fixed to fine-tune lighting angles and minimize unwanted shadows.
Optimize Your Environment:
Choose a quiet, well-lit space to ensure clear audio and video.
Avoid positioning yourself with a bright light or window behind you, as this can cause unwanted shadows or overexposure.

Recording Techniques
Start and Stop with a Buffer
After pressing record, wait a few seconds before speaking to ensure a clean and professional start.
Similarly, at the end of your recording, hold your position for a few seconds before stopping to prevent abrupt cuts.Handling Mistakes Smoothly
If you make an error, complete your current sentence, pause, and then restart from the beginning of that thought.
Avoid cutting off sentences abruptly when stopping a recording—this helps maintain a natural flow and makes editing easier.

Common Recording Mistakes to Avoid
- 1. Poor lighting placement
- 2. Shaky footage from not using a tripod.
- 3. Overuse of on-screen text.
- 4. Monotonous delivery (no energy or variation in voice).
- 5. Forgetting a clear call-to-action at the end of videos.
Post-Production & Editing Best Practices
Beginner / Amateur:
- CapCut – Easy mobile app for quick edits and captions.
- InShot – Simple trimming and filters for fast, casual edits.
- Adobe Premiere Rush – More features with transitions and color tools.
- Filmora – User-friendly with branded effects and special features.
Tip: Great for vertical or square videos on Instagram and TikTok.
Tip: Ideal for polished social media series without complex learning.
Professional:
- Adobe Premiere Pro – Industry-standard with full creative control.
- Final Cut Pro (Mac) – Fast, advanced editing for polished content.
Tip: Best for large projects needing detailed editing and high production quality.

16 ready-to-use social media posts
in your inbox every month
Customizable posts that you can use as-is, tweak, or translate. Plus templates, tools, and support. All in the Scion Social Media AI Accelerator
Common Terminologies
Aspect Ratio
The aspect ratio defines the proportional relationship between the width and height of an image or video, determining its overall shape. For most professional video content, the 16:9 aspect ratio (1920 x 1080 pixels) is the industry standard.
A- Roll Footage
A-roll refers to the primary footage of a video shoot. It serves as the foundation of the narrative, typically including:
- Interviews – Delivering the core message or story.
- IEvent Coverage – Capturing key moments from a main camera perspective.
- IMain Subject Footage –I Directly contributing to the storytelling process.
A-roll is essential for establishing context and delivering structured content.


B- Roll Footage
B-roll is supplementary footage that enhances and supports the primary (A-roll) content. It adds visual variety, depth, and context to a video. B-roll is commonly used for:
- Cutaways – Providing smooth transitions between scenes.
- Visual Context – Showcasing locations, audience reactions, or relevant actions.
- Story Enhancement – Reinforcing key points and making the video more engaging.
BNI Brand Guidelines

Want More Support?
If you’d like us to help you set this up for your Region or Chapter, get in touch with us.
Let’s Take Your Marketing to the Next Level
You focus on growing your market —we’ll handle the marketing.


Win in a changing Digital Landscape
Algorithm shifts, AI trends, and digital marketing strategies worth your time.
We respect your inbox.

© 2026 Scion Social. All Rights Reserved.